Creating a Project
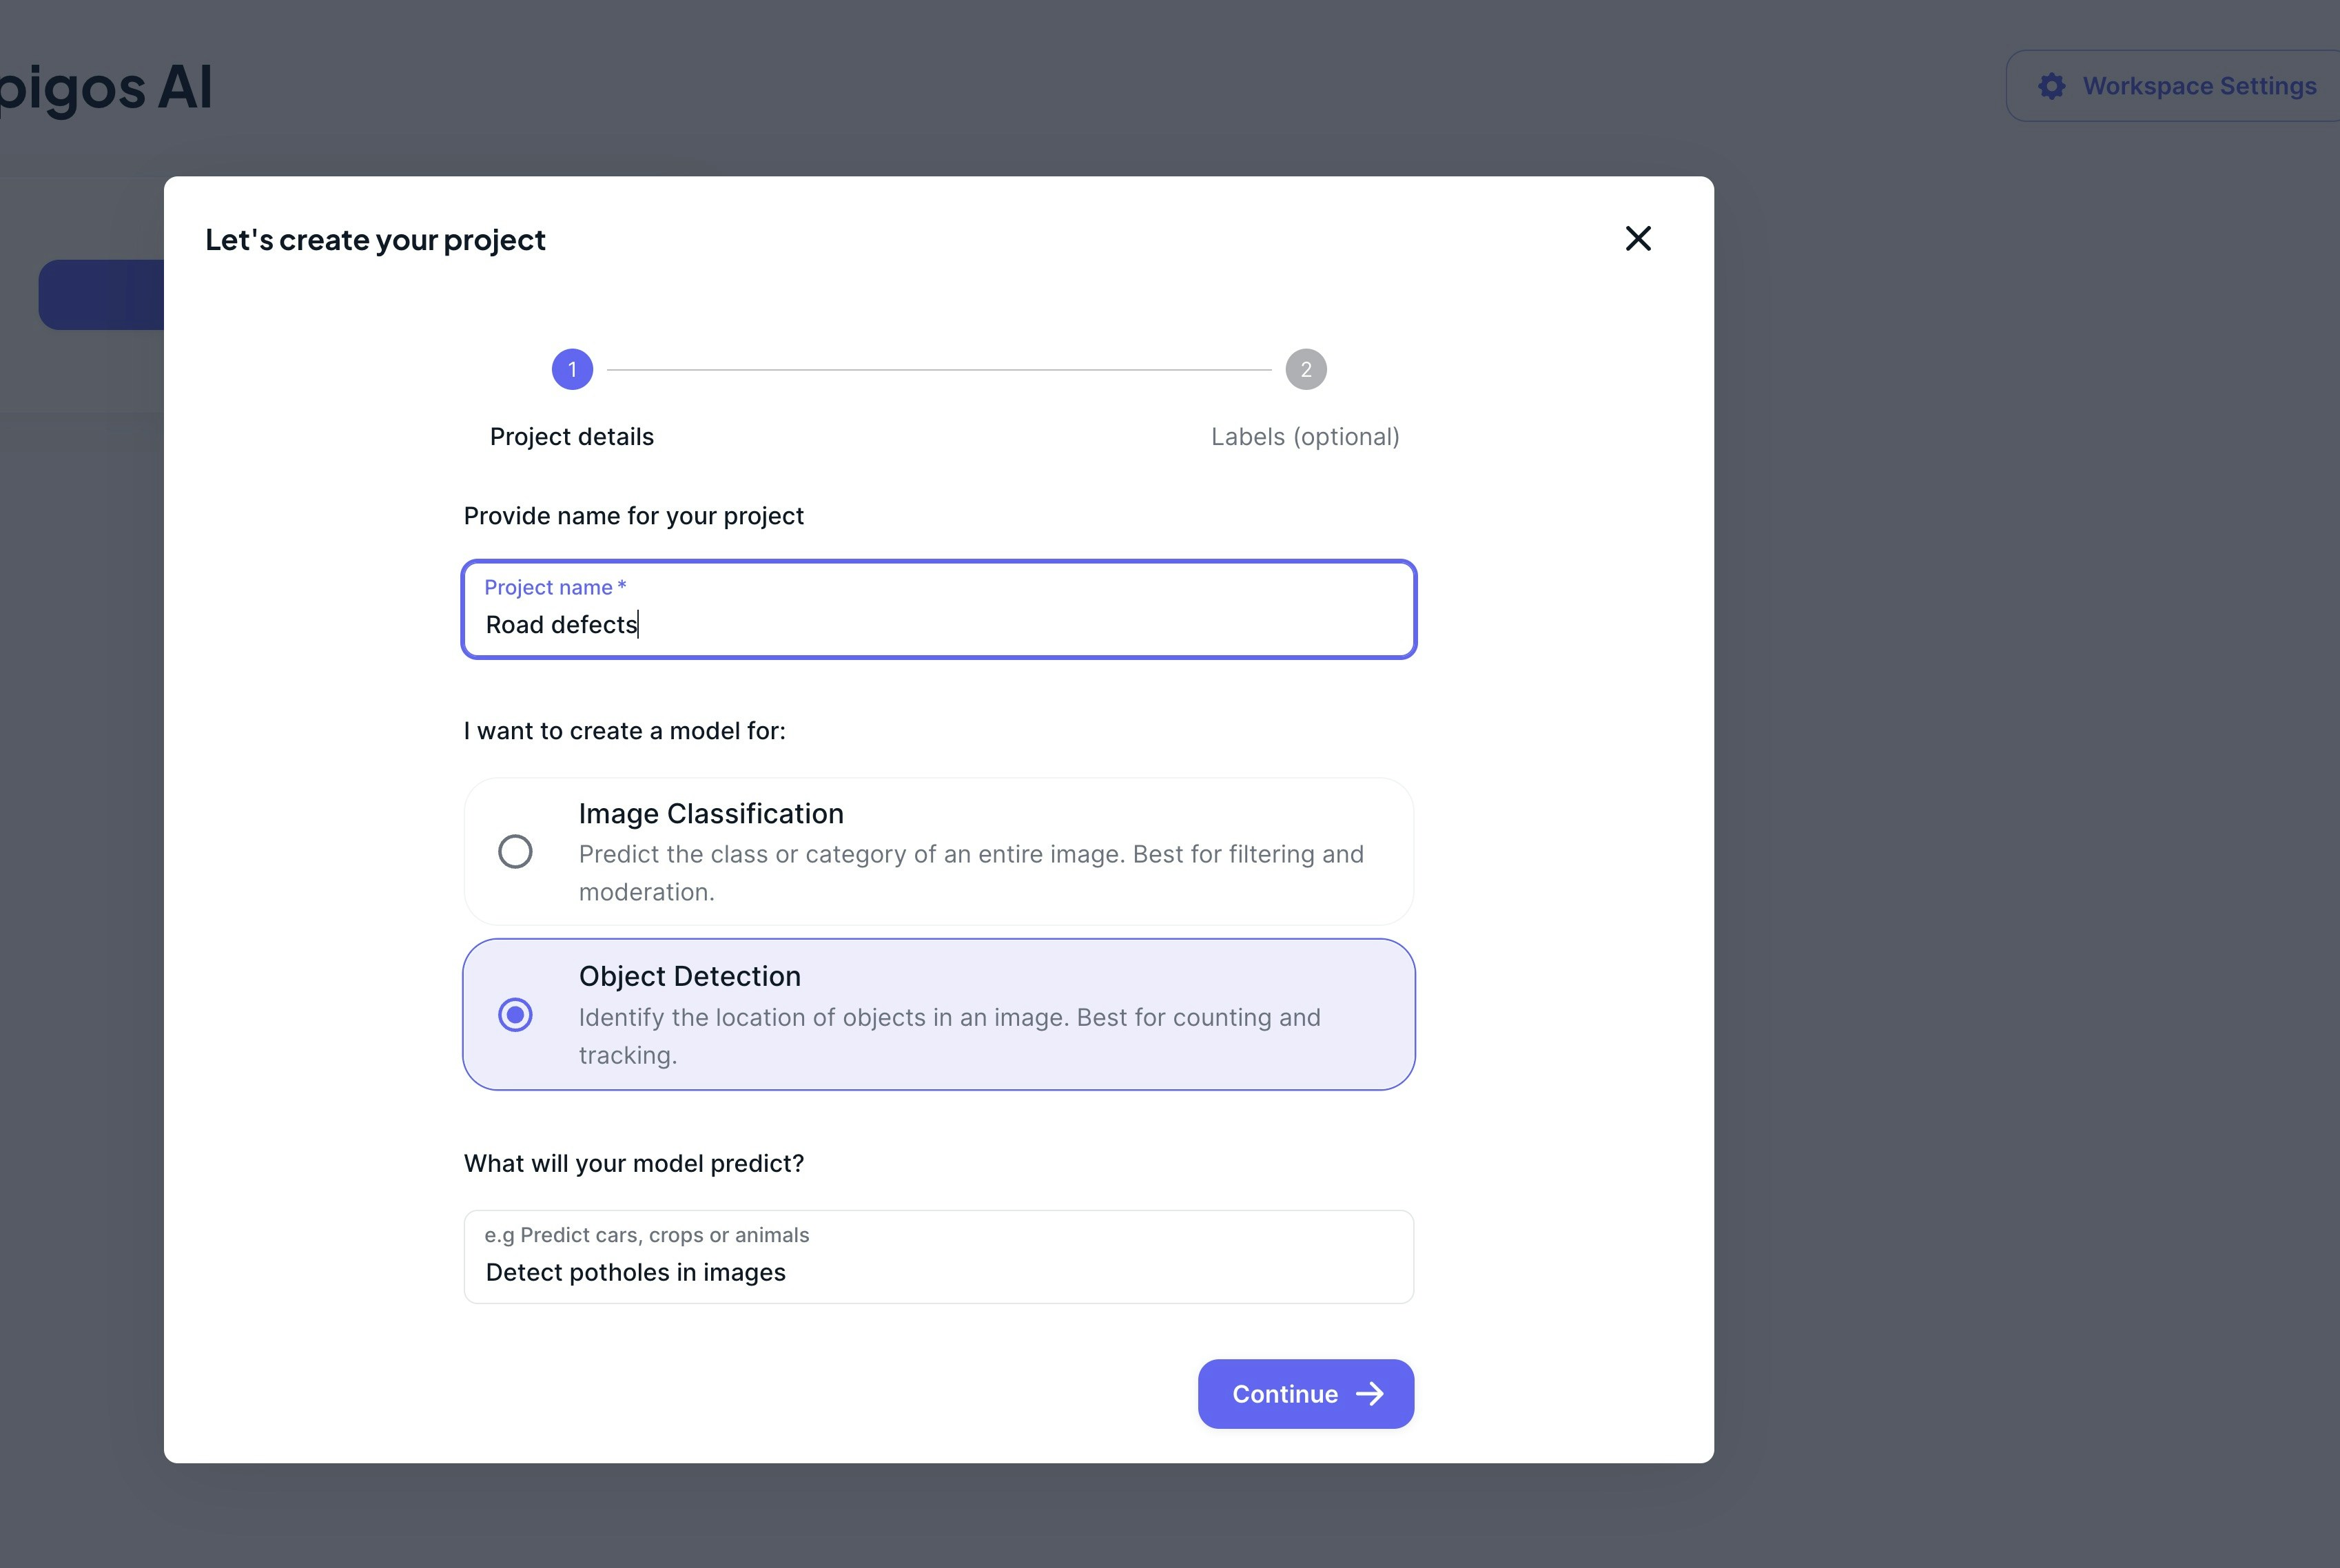
To create a new project and define its attributes, follow these steps:- Navigate to Create Project: Access the workspace dashboard and locate the “Create New Project” button. This typically appears as a button or link prominently displayed on the dashboard interface.
-
Fill Project Form: Click on “Create New Project” to open the project creation form. Fill in the required details, including:
- Name: Provide a descriptive name for your project to easily identify its purpose or subject matter.
- Description: Briefly describe the objectives, scope, or context of the project to provide context for collaborators.
- Project Type: Specify the type of model to be created for the project. Available options include:
- Image Classification: Classify images into predefined categories or labels.
- Object Detection: Identify and locate objects within images, providing bounding boxes and labels.
- Annotation Labels (Optional): Optionally, specify annotation labels relevant to your project.Annotation labels define the categories or classes that will be annotated within the dataset. This step is optional during project creation and can be completed later.
- Create Project: Once all required information is provided, click on the “Create Project” button to finalize the project creation process.
Project Types
Project types define the nature of the model to be created within the project. Here’s a brief overview of each project type:- Image Classification: Classify images into predefined categories or labels based on their visual content. Ideal for tasks where images need to be categorized into distinct classes or groups.
- Object Detection: Identify and locate objects within images, providing bounding boxes and labels for each detected object. Suitable for tasks requiring precise object localization and recognition within images.
Managing Projects
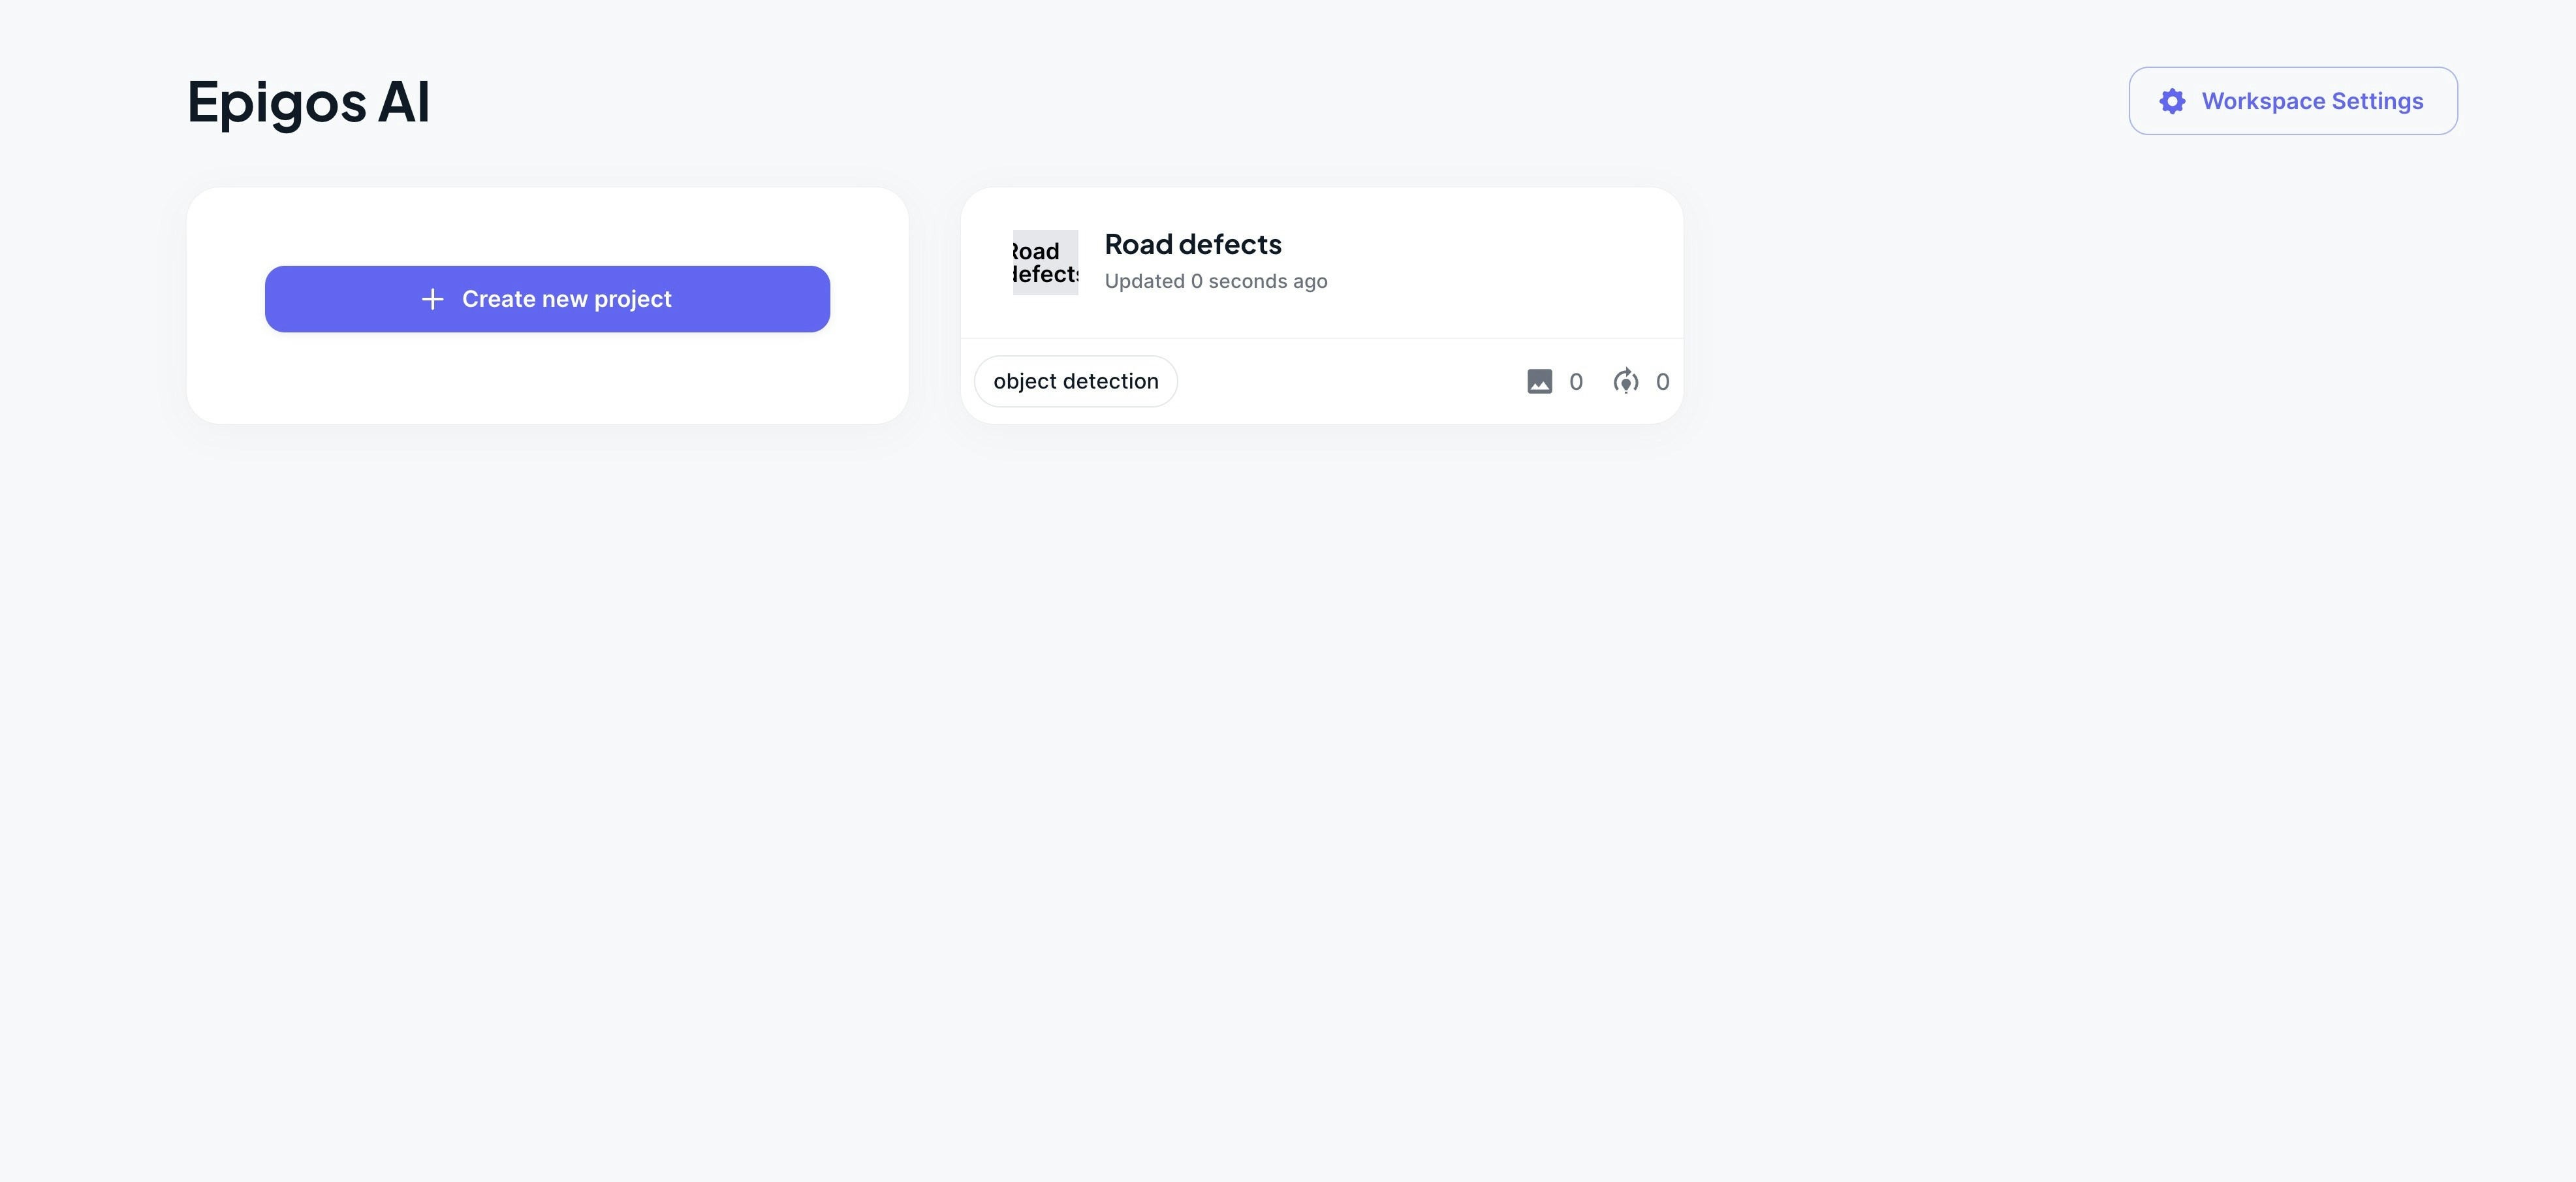
- View Project: Click on the project name or navigate to the project dashboard to access the project interface. Here, you can upload datasets, annotate data, and train models.
- Update Project: Navigate to the Project Settings page to update project details, including name, description, project type, and annotation labels.
- Delete Project: If a project is no longer needed, you can delete it from the Project Settings page. Exercise caution when deleting projects, as this action cannot be undone.