Create a Workspace
After log in, creating a workspace is the initial step to kickstart your journey with our platform.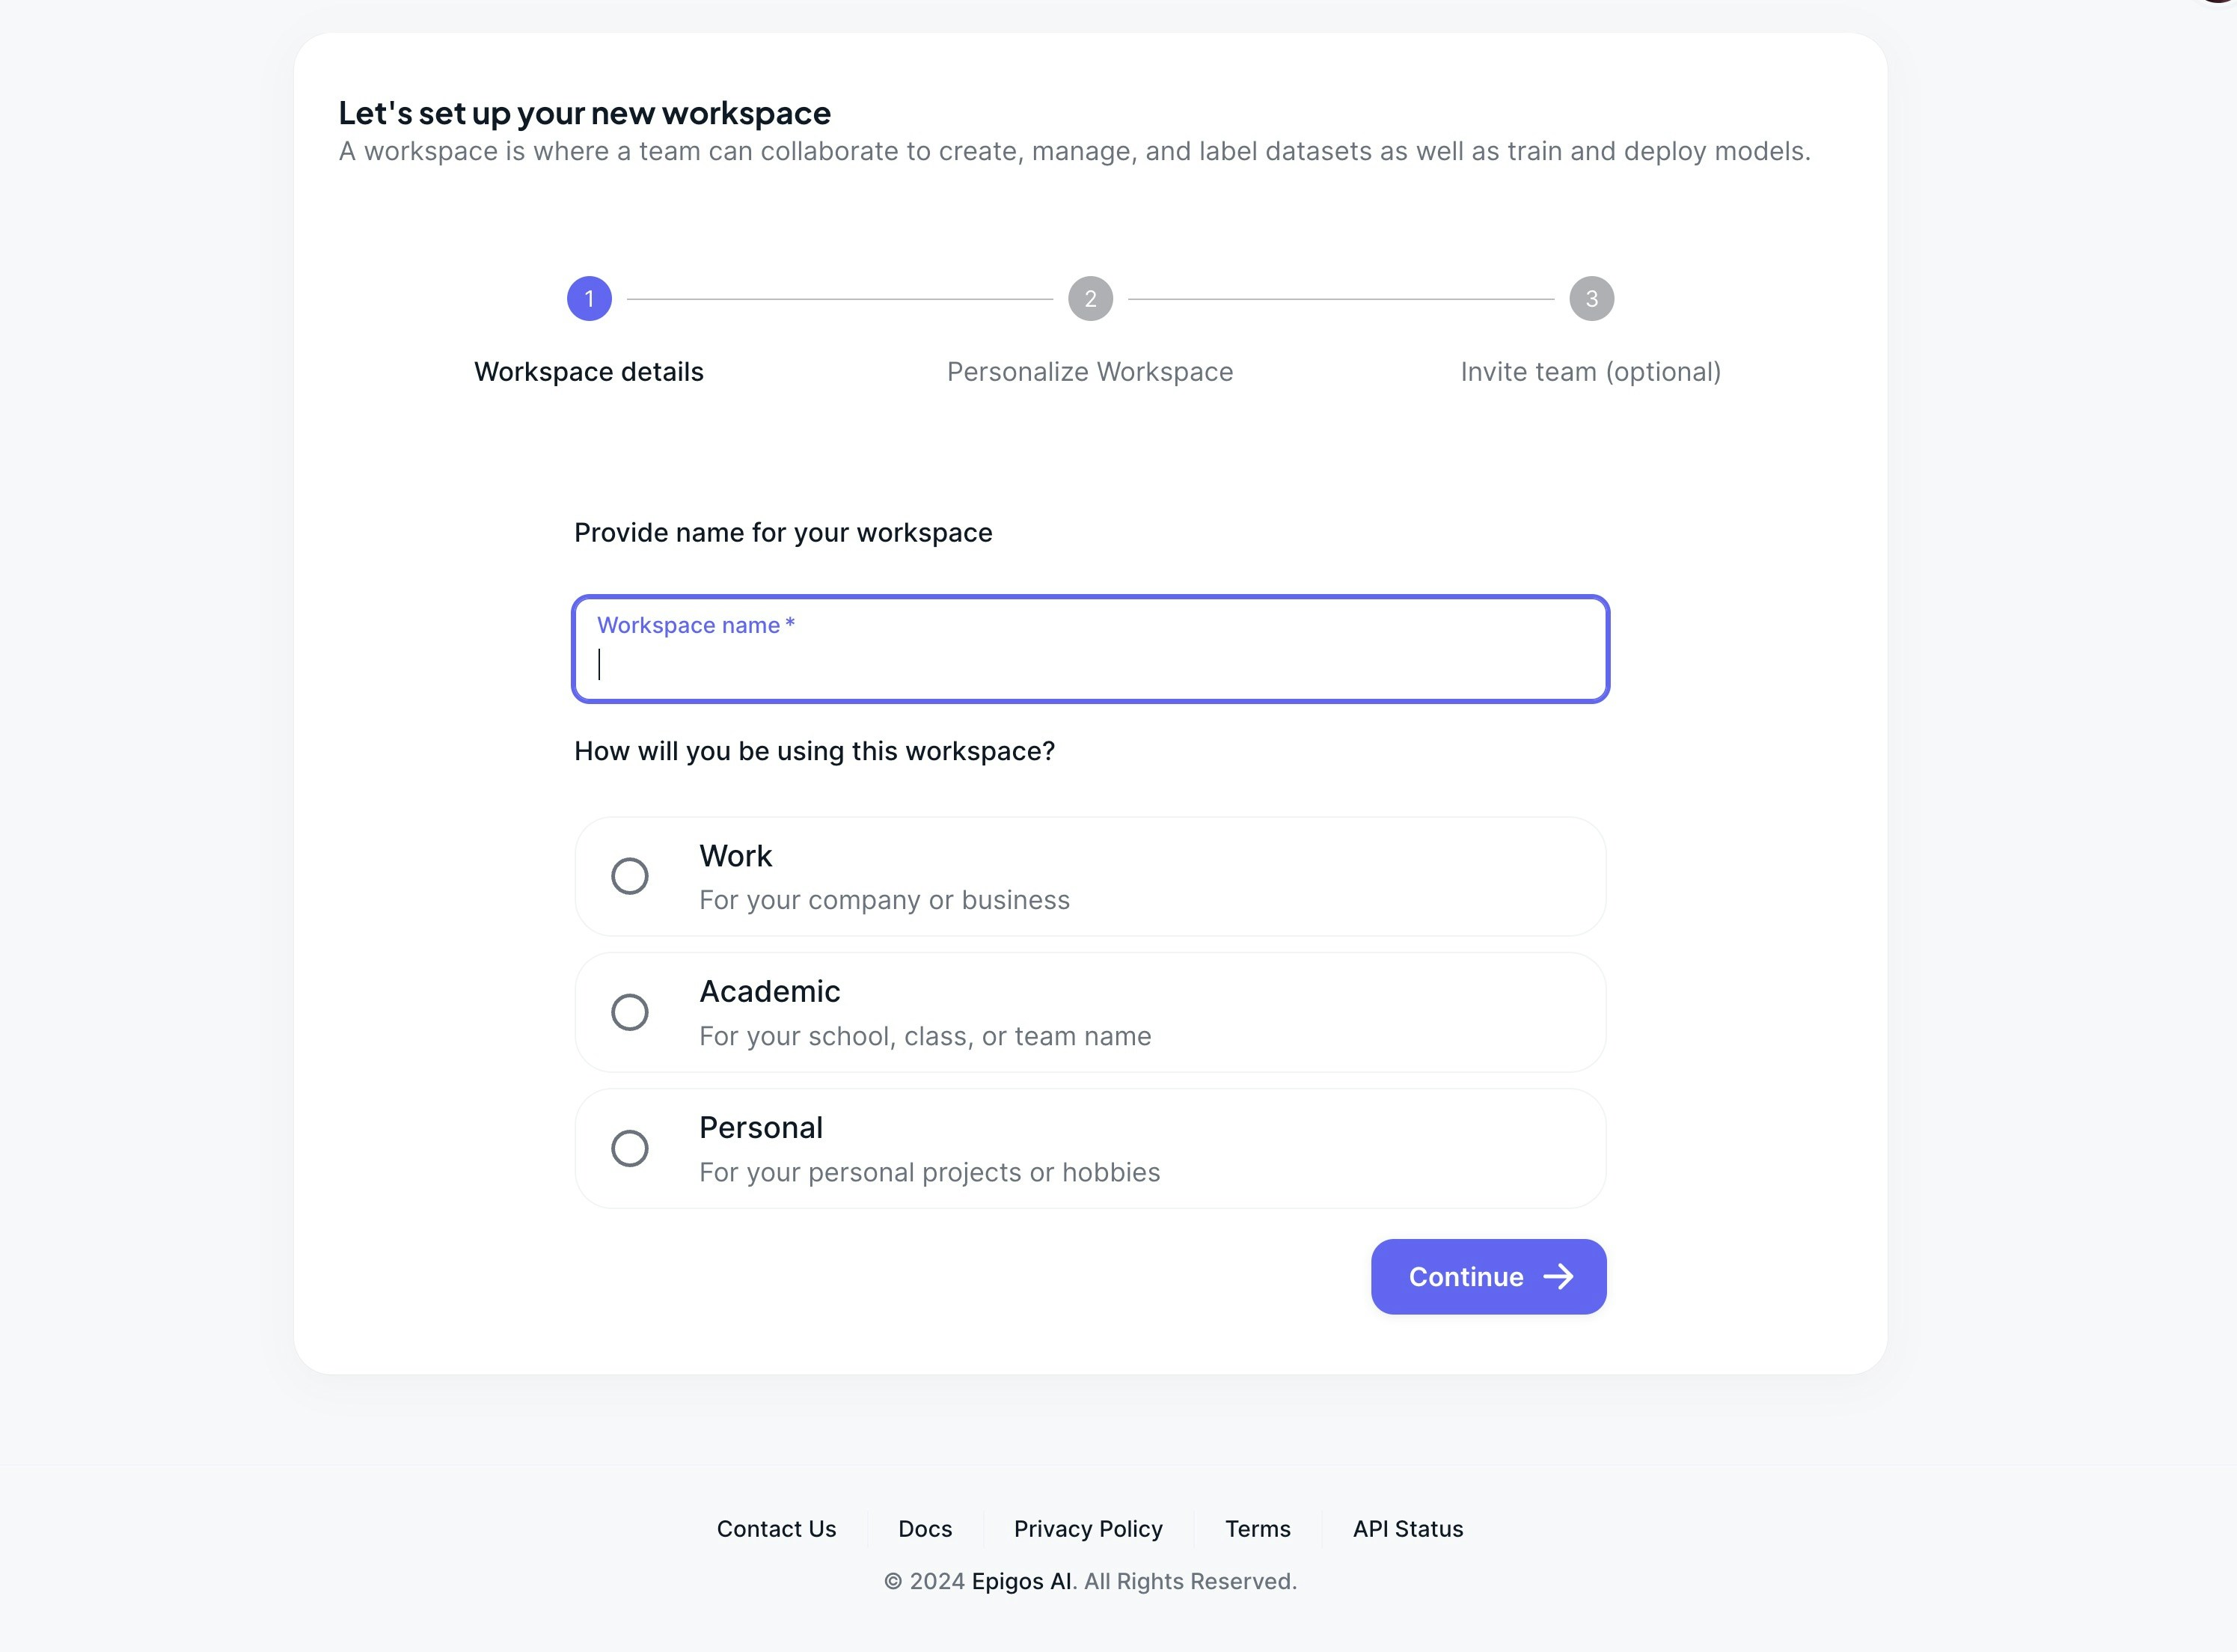
Workspace Settings
Once your workspace is created, you can customize its settings to tailor the environment according to your requirements. Navigate to the workspace settings by clicking on theWorkspace settings button or the gear icon in the top right corner.

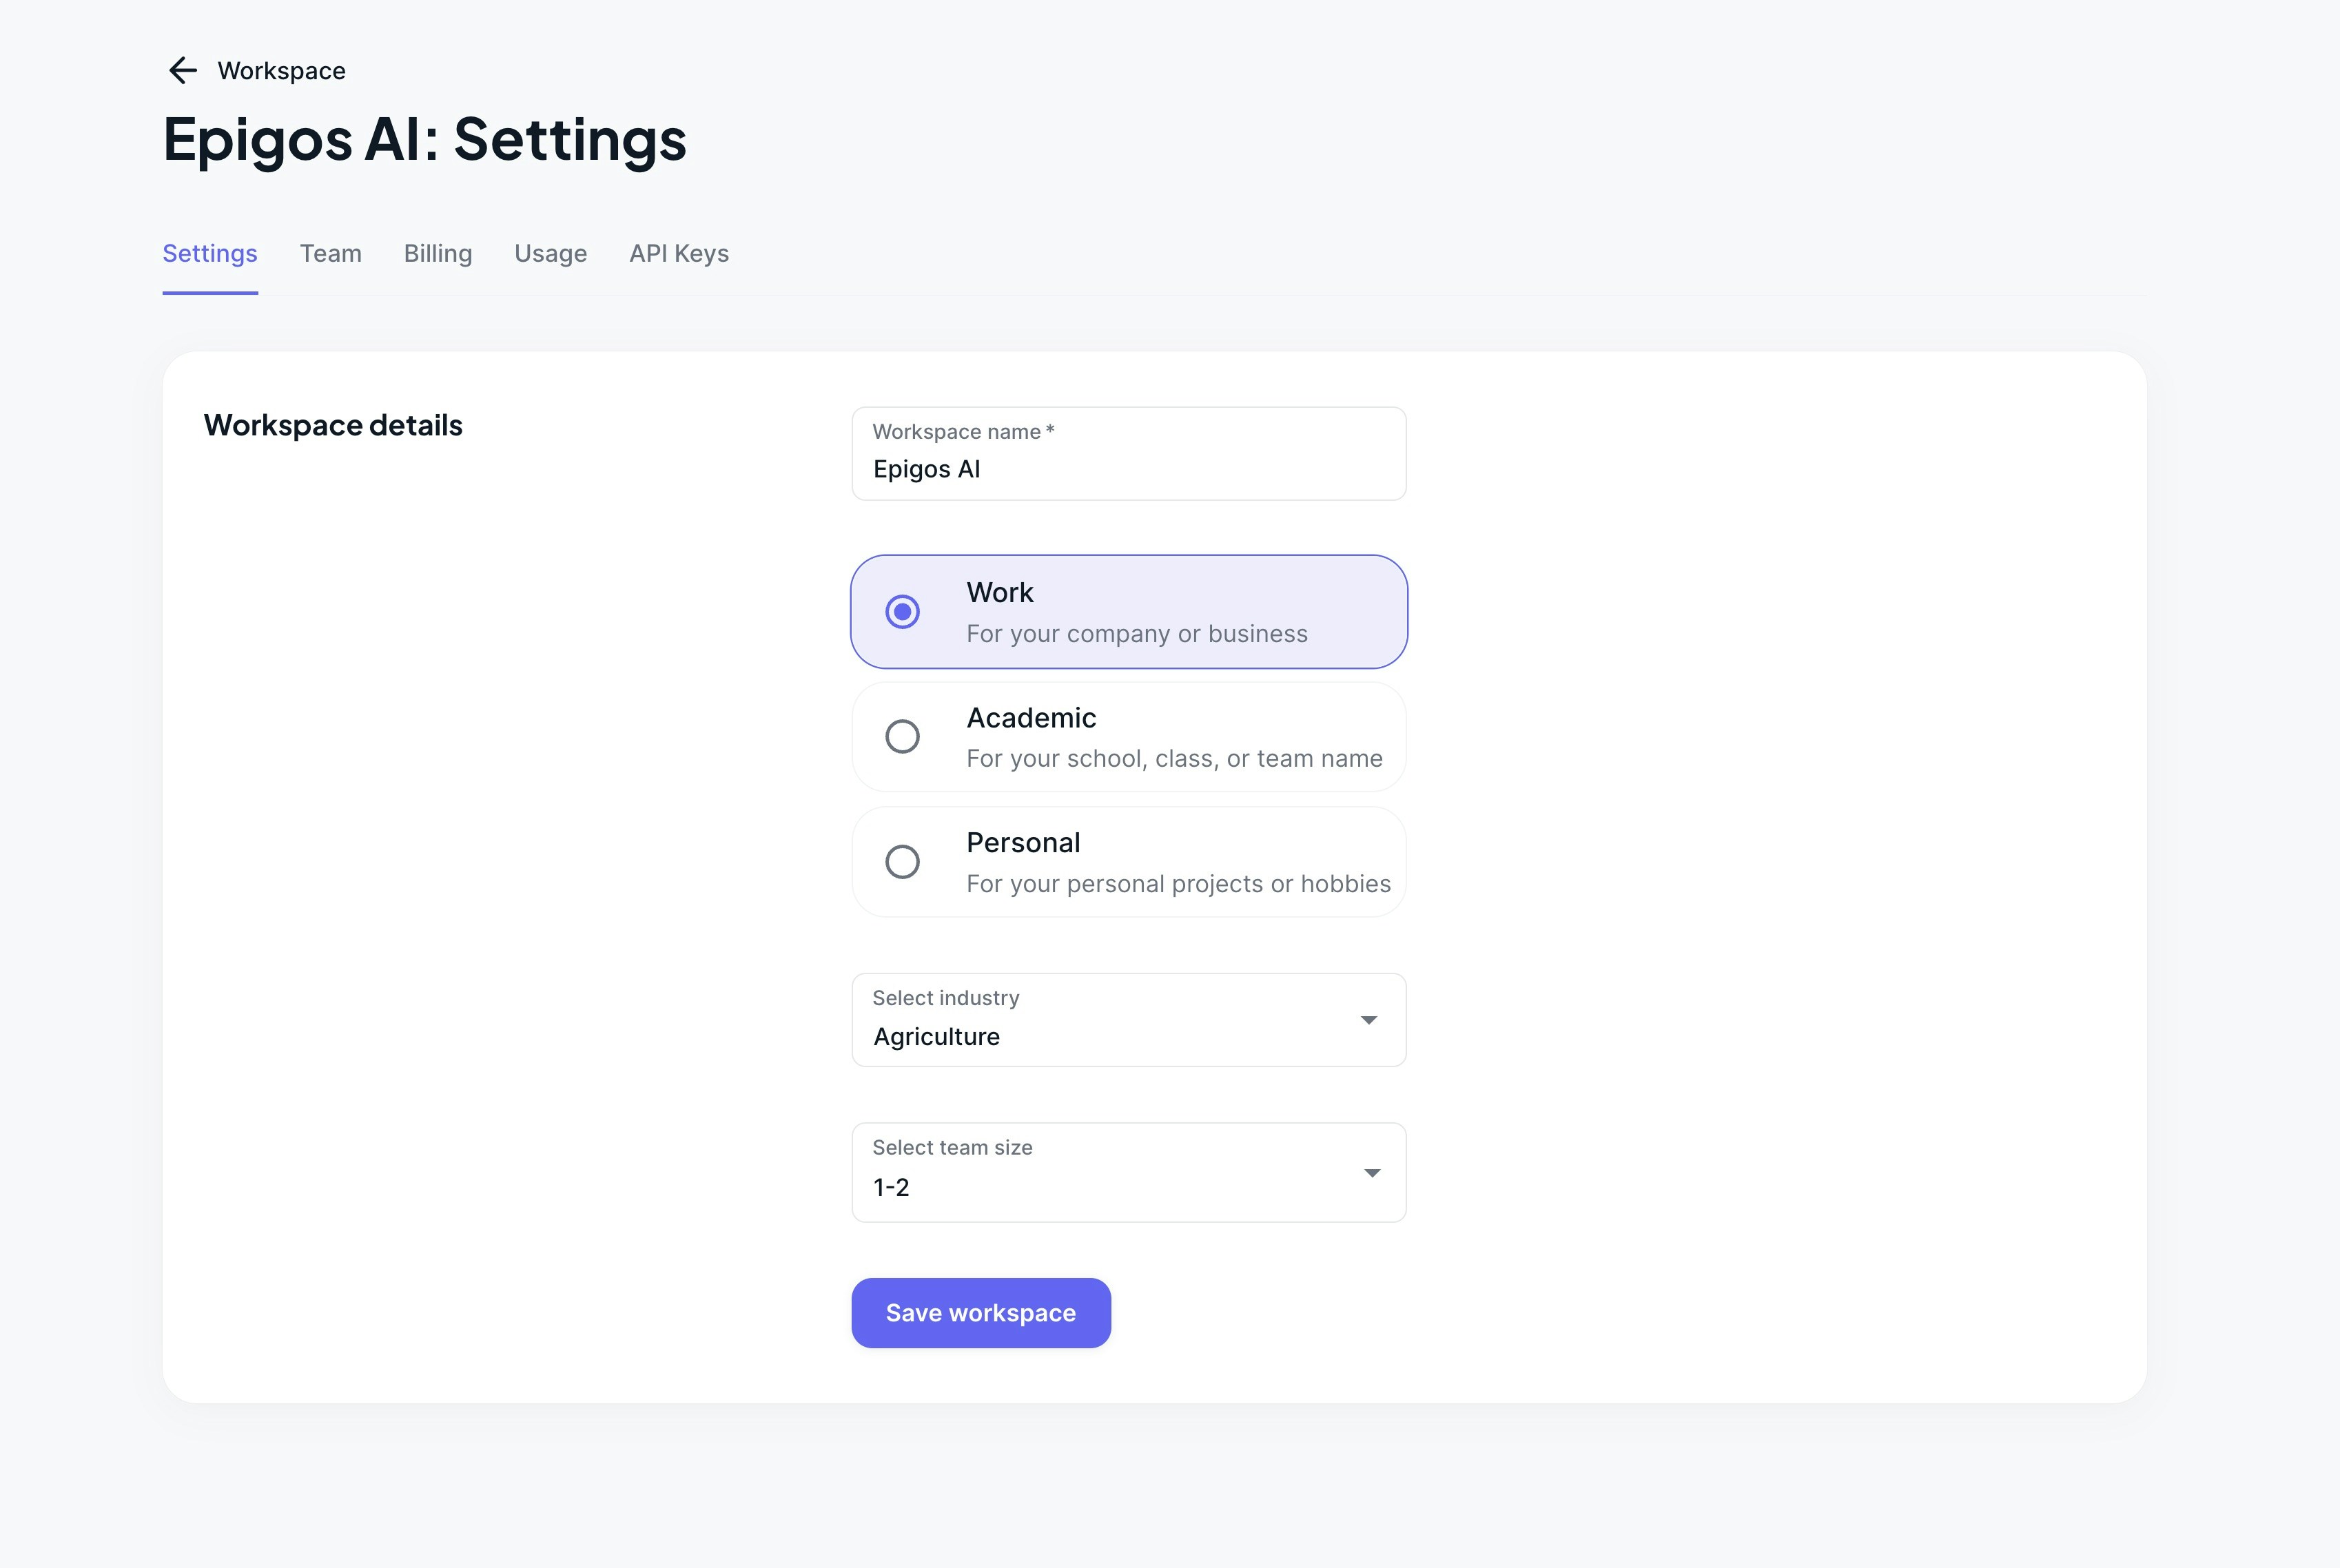
Workspace details
- Update workspace name, industry, and other relevant details to ensure accurate representation and easy identification.
- Modify metadata associated with the workspace for organizational purposes.
Team
- Invite team members to collaborate and contribute to projects within the workspace.
- Grant access permissions to team members based on their roles and responsibilities.
- Manage user access levels to control the extent of interaction and contribution within the workspace environment.
Billing
- Manage subscriptions and billing details associated with your workspace.
- Upgrade or downgrade subscription plans as per your requirements.
- View billing history and manage payment methods securely.
Quota
- Monitor and track platform usage within the workspace.
- View allocated quotas for various resources such as storage, processing power, and other platform features.
- Stay informed about resource consumption to optimize utilization and avoid exceeding limits.
API Keys
- Create and manage API keys for seamless integration with external applications and services.
- Generate unique API keys to authenticate and authorize access to platform functionalities.
- Regulate access permissions associated with API keys to maintain security and control over external interactions.