Set Up Your Workspace
To begin, initiate your journey by signing up with either your email or Google account. You’ll then be redirected to the dashboard, where you can create a fresh workspace under your account.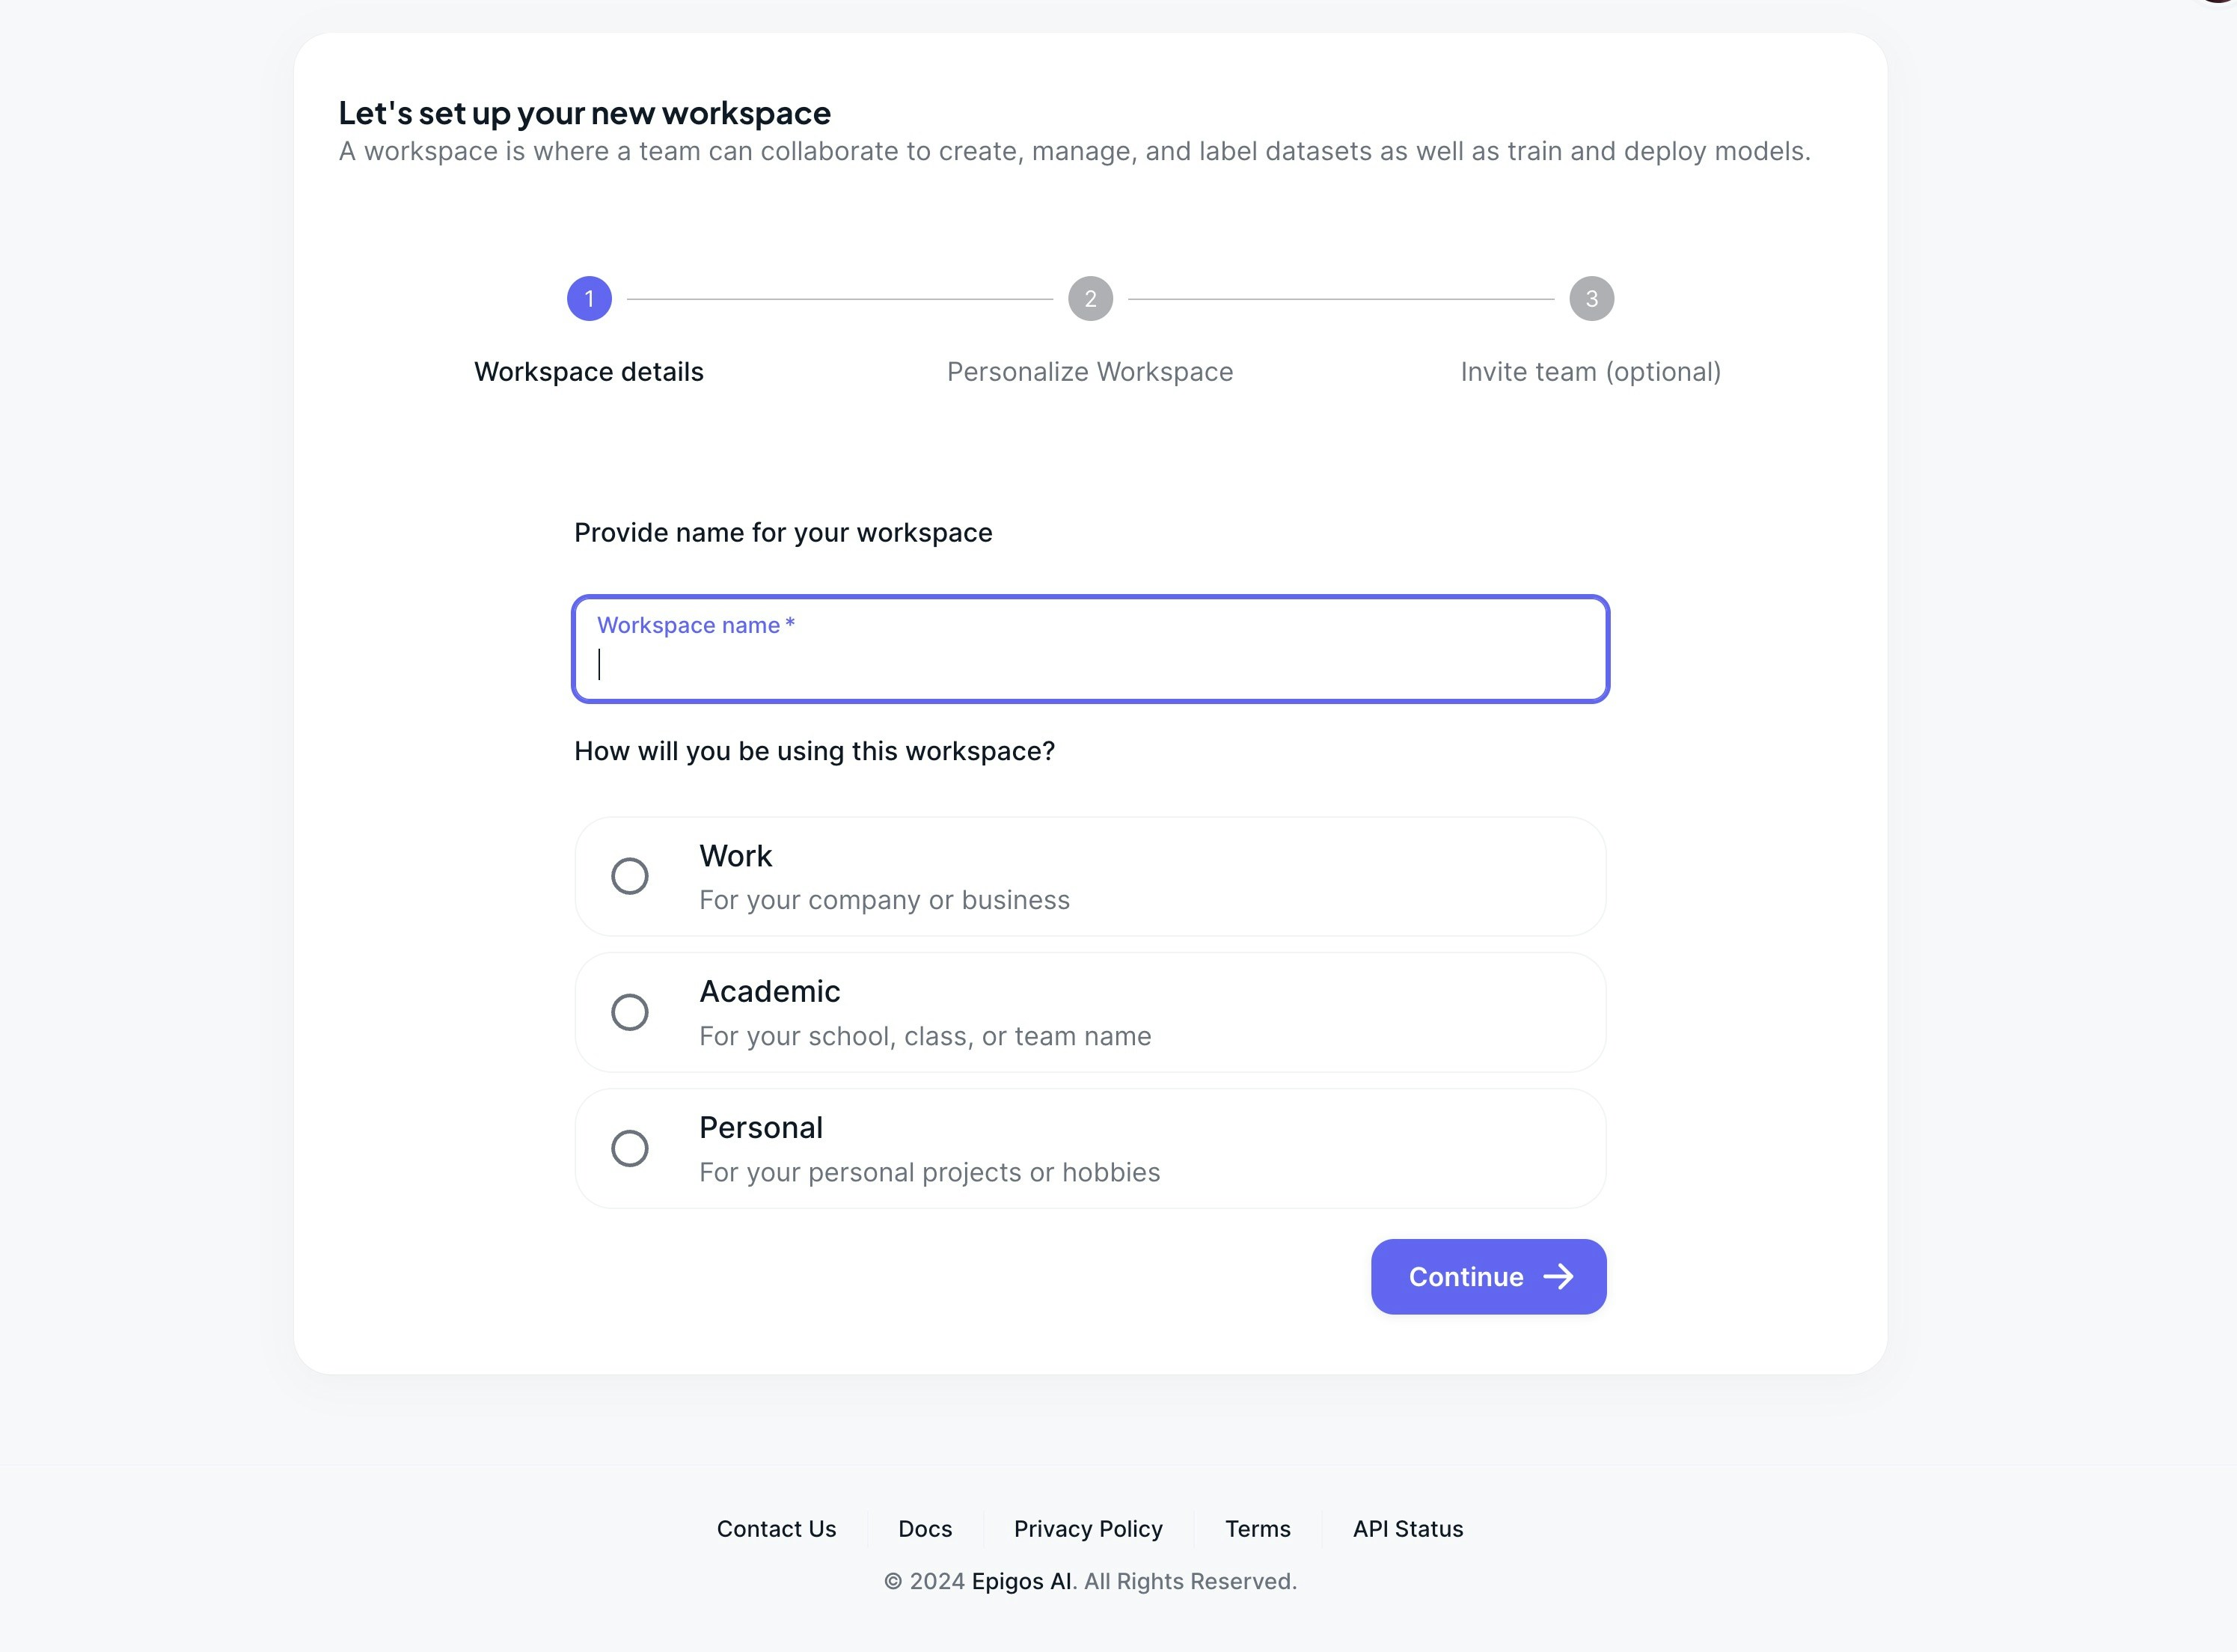
Create Your First Project
Next, click onCreate new project to start a new project that will contain the resources for your model training.
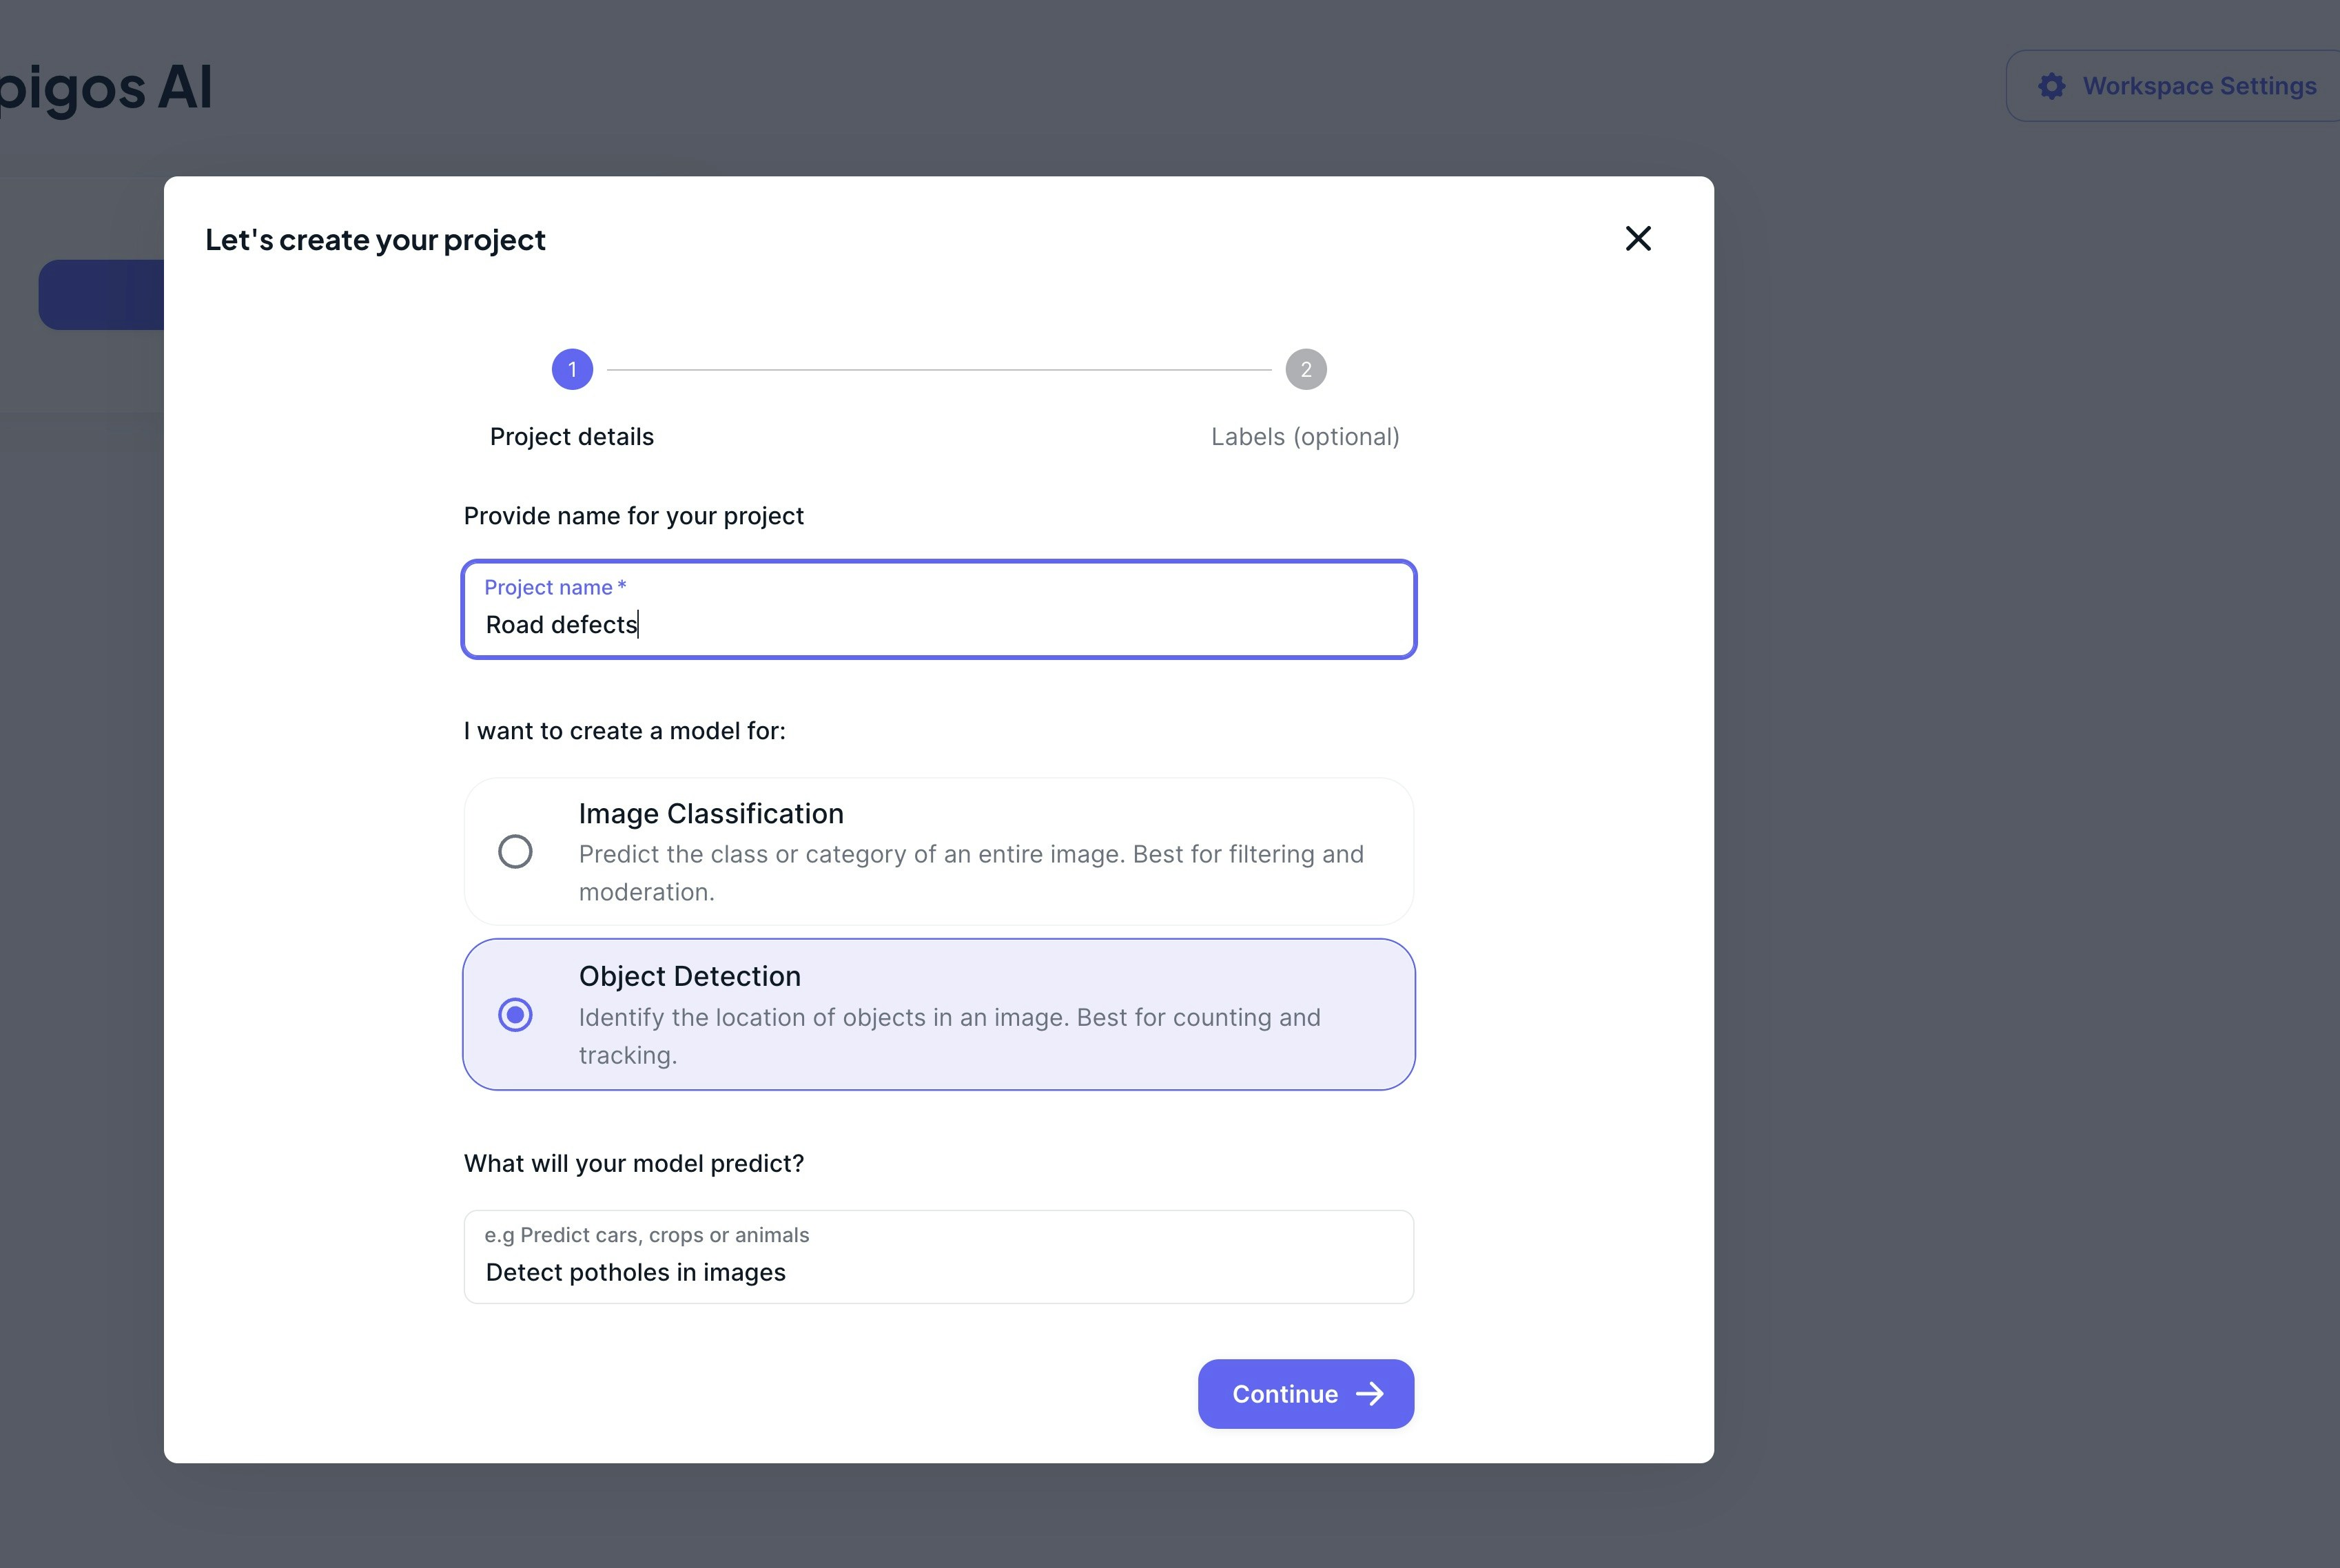
labels for your model, as well as annotation instructions for your data labelers, must then be provided.
Adding Data
After you’ve created your project, go to the project details by clicking on the project card. Click theUploads link in the sidebar, then click Upload dataset in the top right corner of the uploads page.
A dialog box will appear, allowing you to upload files from your computer.
Uploads currently supports only image formats
Upload files to upload the selected files.
Annotating Images
When the upload is completed, the uploaded batch will be displayed in table. To annotate, click on theAnnotate button to start annotating your dataset batch.
The annotation page will display the image to be annotated, together with the class labels to assign to the images.
To annotate the image follow these steps:
- Select the appropriate label for the image
- Click on submit save your annotation.
- After it’s saved, a next image in the upload batch will be loaded to continue annotating until all data the batch is labelled.
Training Your Model
Training a model within Epigos AI is streamlined with a single click. We take care of GPU allocation and associated expenses, and additionally provide you with readily available optimized deployment choices, which will be elaborated on in subsequent sections of this guide. Once you’ve created your dataset, the option to initiate model training becomes visible. To begin the training process, kindly follow the steps outlined below:- In dataset details view, click on
Train model - Choose your dataset version to use for the training.
- Click on
Start model training. Your will begin training on our platform as background task. You’ll be notified once your model training is completed.
models table.
Training a model can take from 1 to 12hrs depending on the size of your data.
The process is done in the background and we’ll notify you once the model is
ready to be used.
Try out your model
We offer a hosted inference UI that you can use to test your model on real data.Deploying Your Model
The model you’ve trained on Epigos AI is fully optimized and configured for use across various deployment choices. If you’re uncertain about the most suitable deployment path for your model, we offer a valuable guide to aid you in making an informed decision.Test your model in the dashboard
Test your model in the dashboard
Run predictions directly in the models details page to evaluate the evaluate the performance of your models on sample images.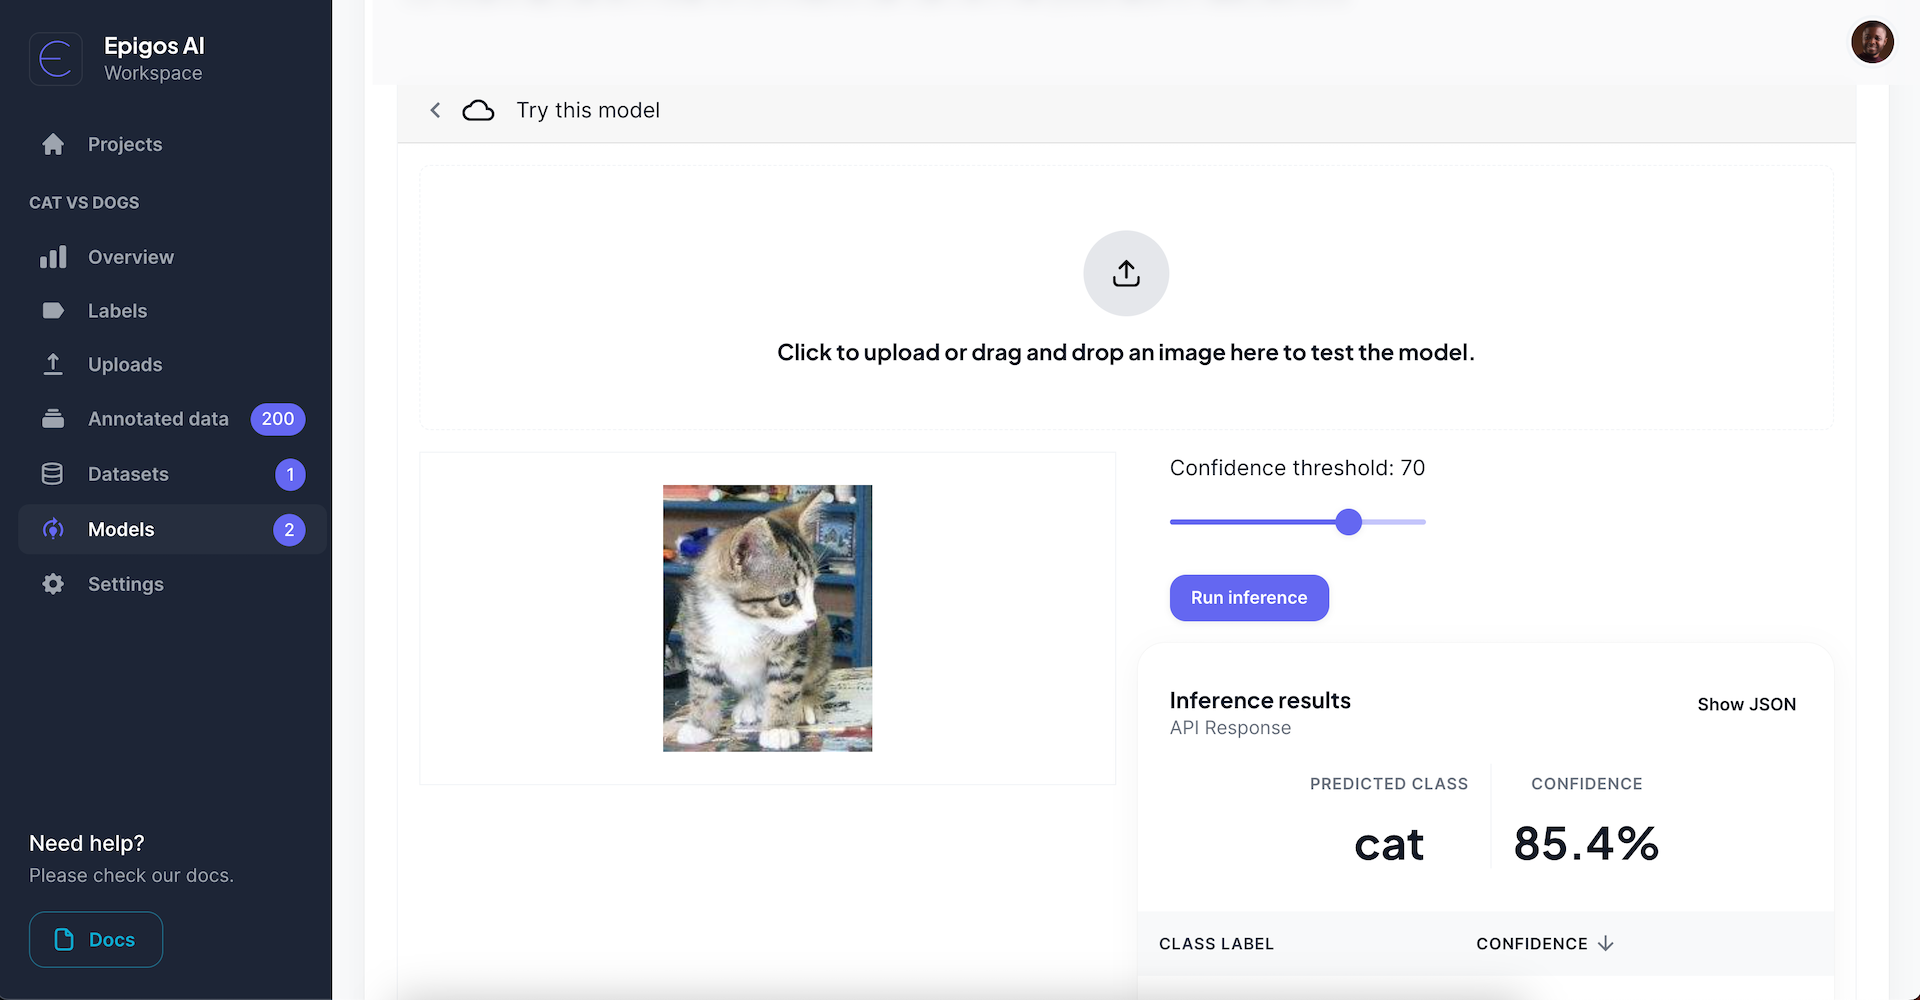
Use the hosted web app
Use the hosted web app
Generate a URL to the hosted web UI to make predictions on your model.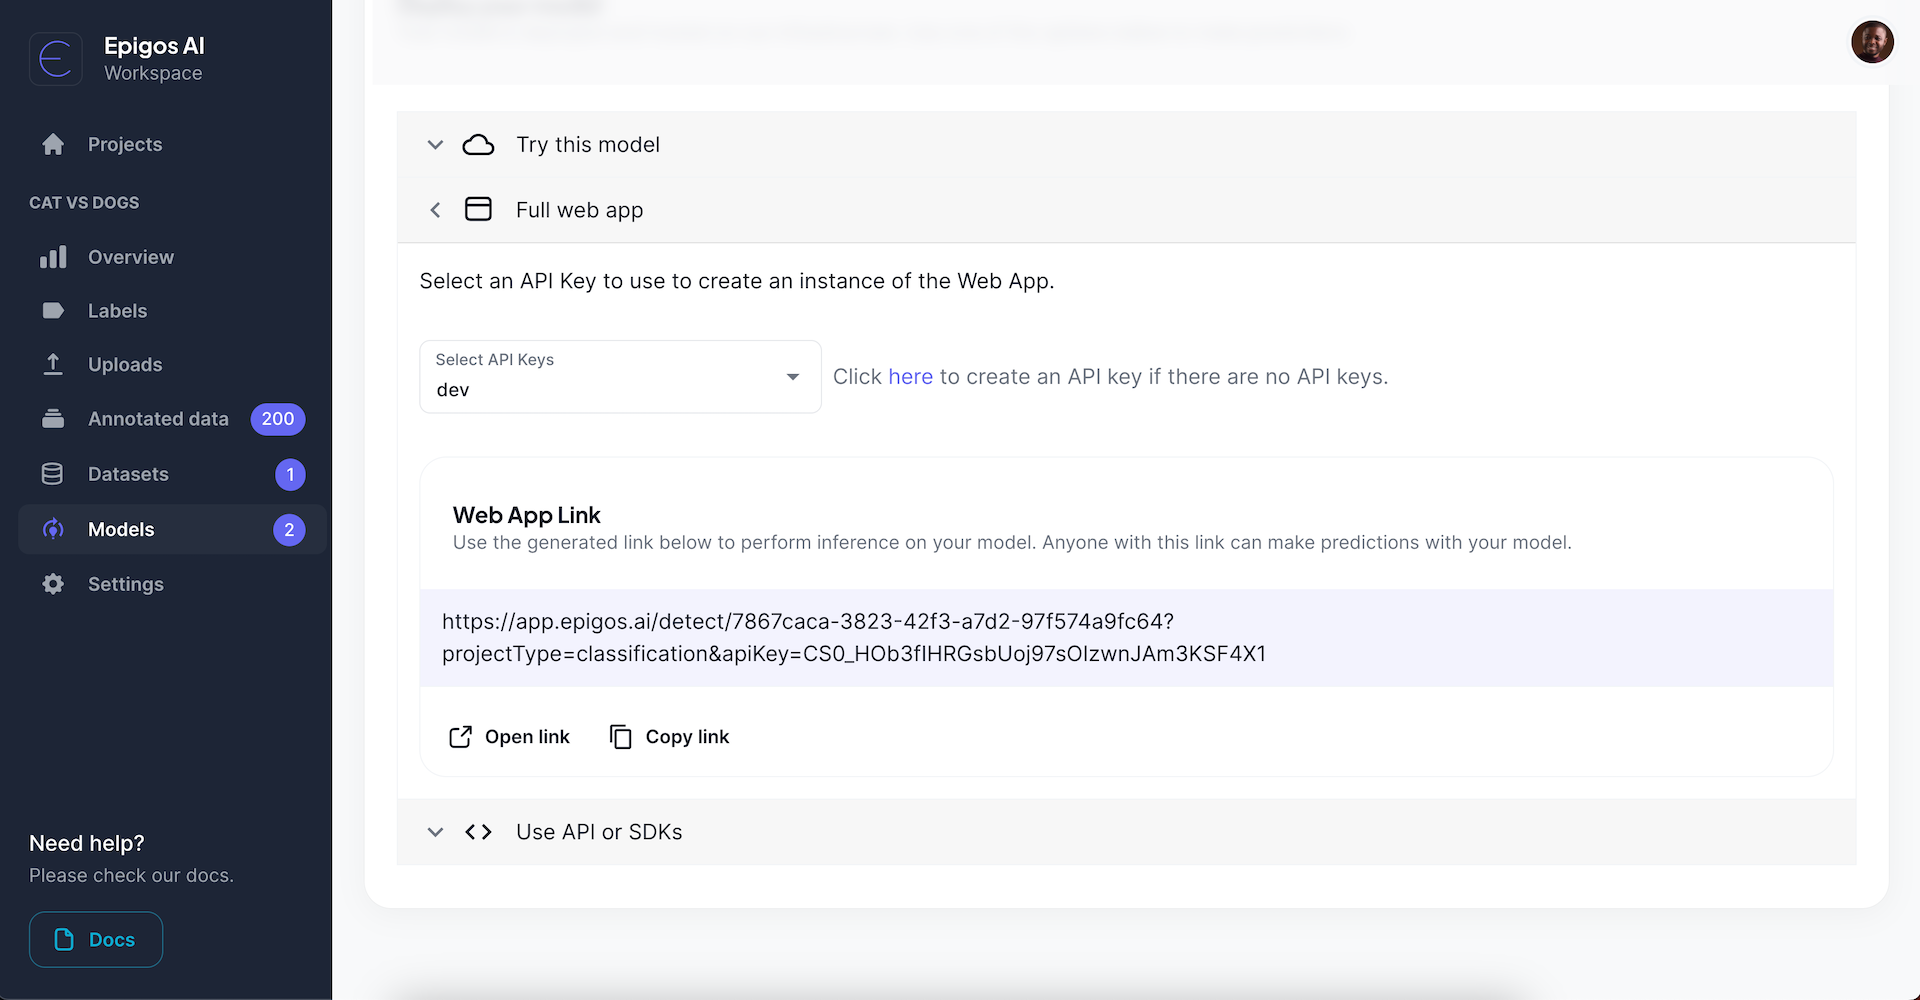
Anyone with access to the link can run predictions on your model in the web app.
Use API or SDKs
Use API or SDKs
Use the Epigos REST API, Python and Node.js SDK to manage and use your models.
REST API
Get started with our API guide.
Python SDK
Integrate Epigos into your Python application.
Node.js SDK
Integrate Epigos into your Node server.