Annotation Process
Follow these steps to annotate datasets using our annotation tool:- Navigate to Uploads Page: Access the Uploads page within your project. Here, you’ll find a list of uploaded batches of datasets.
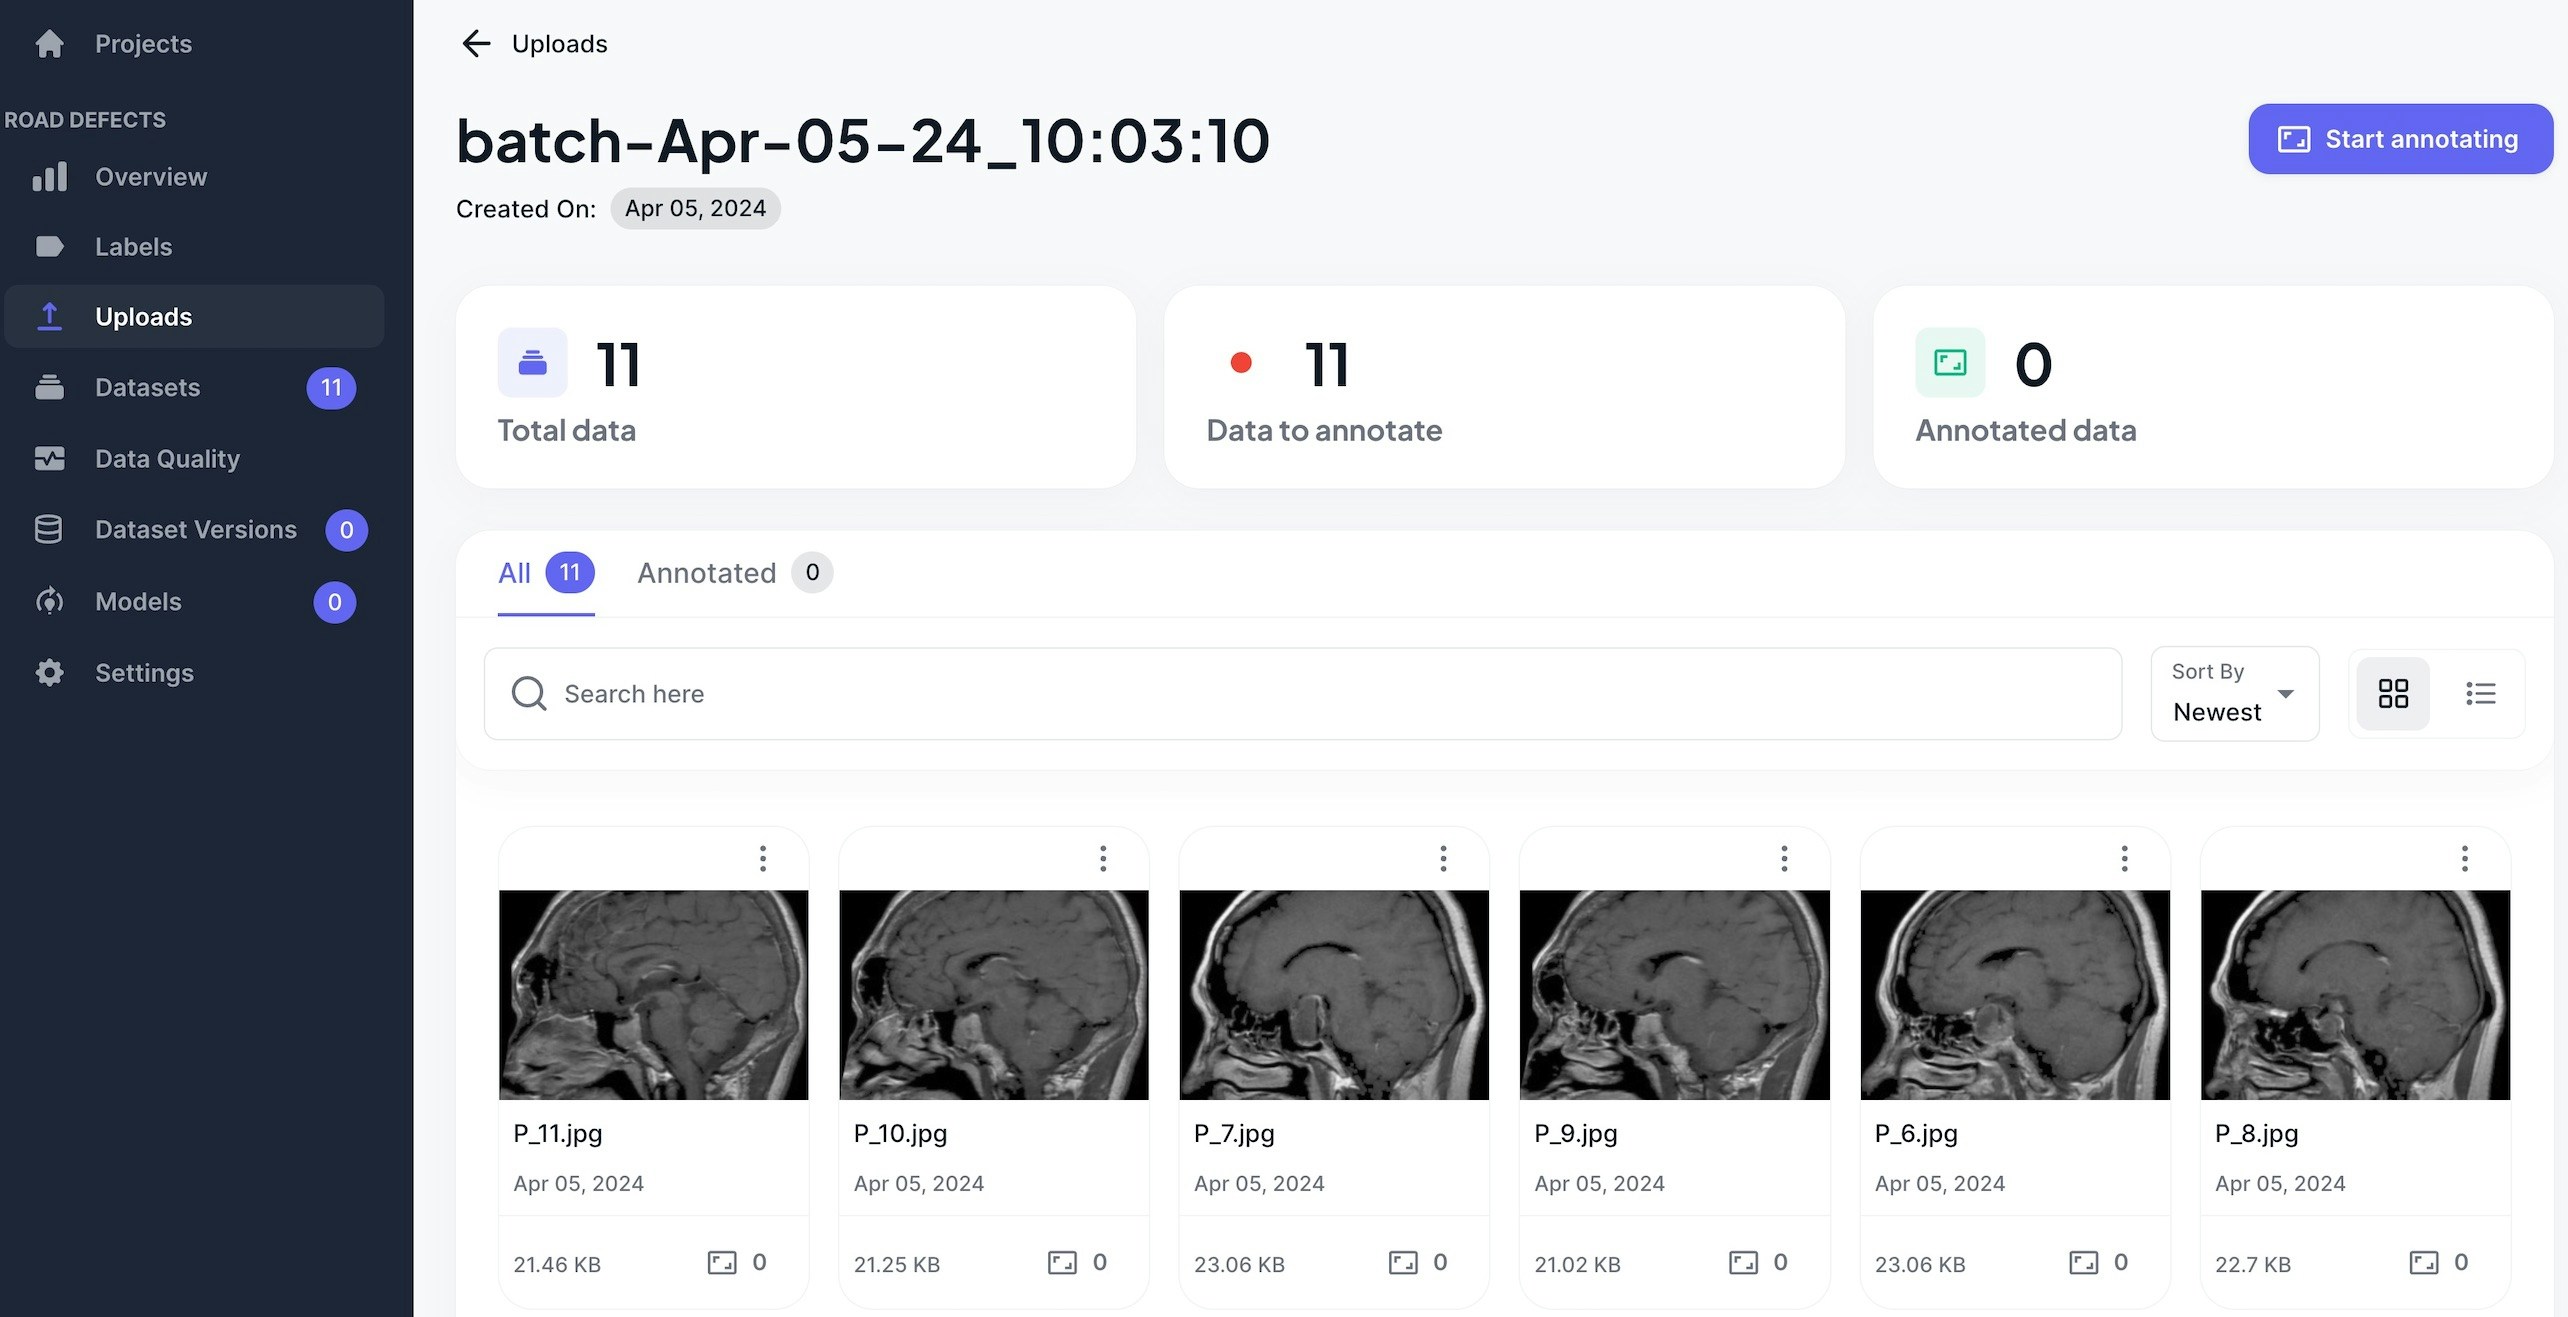
- Select Upload Batch: Choose the upload batch containing the dataset you wish to annotate. Click on the batch to view its details.
-
Initiate Annotation: Within the upload batch details, locate the
Start annotatingbutton associated with the batch. Click on it to initiate the annotation process. - Annotation Interface: You’ll be navigated to the annotation tool interface, where you can annotate your dataset. The annotation tool provides tools and functionalities for adding annotations to images.
Annotation Types
Our annotation tool supports two primary types of annotations:- Category Annotation: Classify images into predefined categories or labels. This type of annotation is suitable for tasks where images need to be categorized based on their visual content.
- Bounding Box Annotation: Identify and annotate objects within images by drawing bounding boxes around them. This type of annotation provides spatial information about objects’ locations within images, enabling object detection tasks.
Annotation Tool Interface
The annotation tool interface offers intuitive controls and features to streamline the annotation process:- Image Display: The main area displays the images from the dataset batch, allowing you to annotate them.
- Annotation Tools: Select tools for adding category annotations or drawing bounding boxes. Customize annotation attributes such as labels and colors as needed.
- Save Annotations: After annotating images, save the annotations to apply them to the dataset batch permanently.